how to install under cabinet lighting?
2023-09-22 12:45
To install under cabinet lighting, follow these steps:
1. Gather the materials needed, including under cabinet light fixtures, mounting hardware, electrical wire, a wire stripper, wire connectors, a drill, a screwdriver, and a voltage tester.
2. Measure the length of the cabinets where you want to install the lights. Take note of the number of fixtures needed and their spacing.
3. Turn off the power to the circuit you will be working on by switching off the corresponding circuit breaker in the electrical panel. Use a voltage tester to confirm that there is no current running through the wire.
4. Determine the location for the lights. Mark where the fixtures will be placed with a pencil or tape measure.
5. If necessary, drill holes in the cabinets to provide access for the wire. Be sure to position the holes in inconspicuous locations.
6. Mount the fixtures using the provided hardware or screws. Ensure they are level and securely attached to the underside of the cabinets.
7. Measure and cut the appropriate length of electrical wire to connect each fixture. Use a wire stripper to remove about 1/2 inch of insulation from each end of the wire.
8. Connect the wires to the fixtures, following the manufacturer's instructions. Typically, this involves using wire connectors to twist together the exposed ends of the fixture wires and the electrical wire.
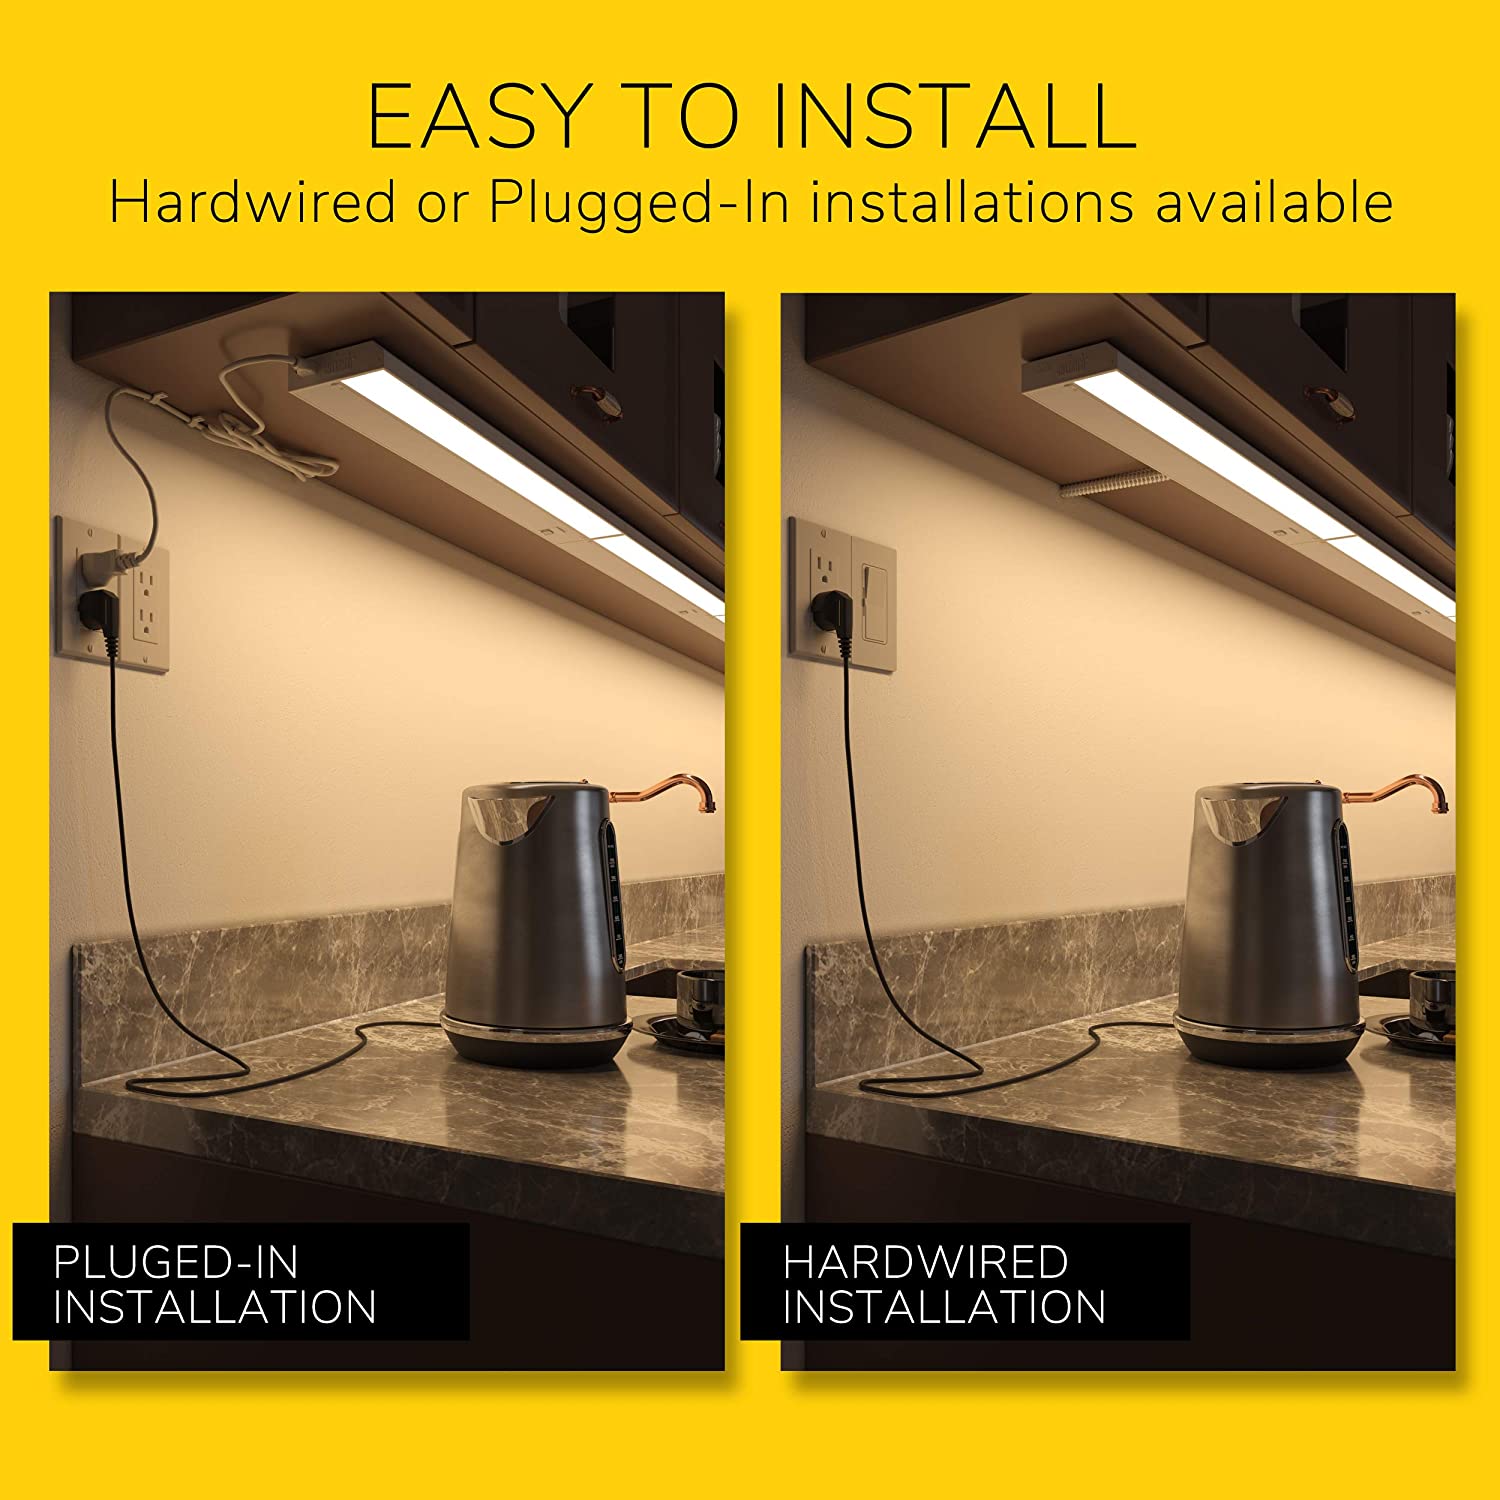
9. Thread the wires through the drilled holes (if applicable) and route them to the nearest electrical outlet. Be sure to keep the wires neatly organized and out of sight as much as possible.
10. Install an electrical box if needed and connect the wires to the outlet. Again, use wire connectors to securely attach the wires.
11. Turn the power back on to the circuit and test the lights to ensure they are working correctly.
Keep in mind that if you are uncomfortable with electrical work, it is important to consult a licensed electrician for installation assistance.
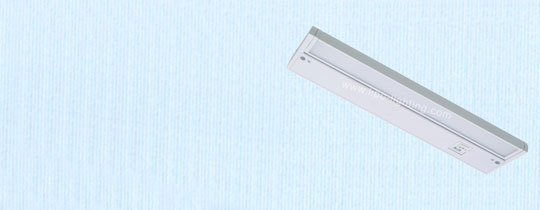
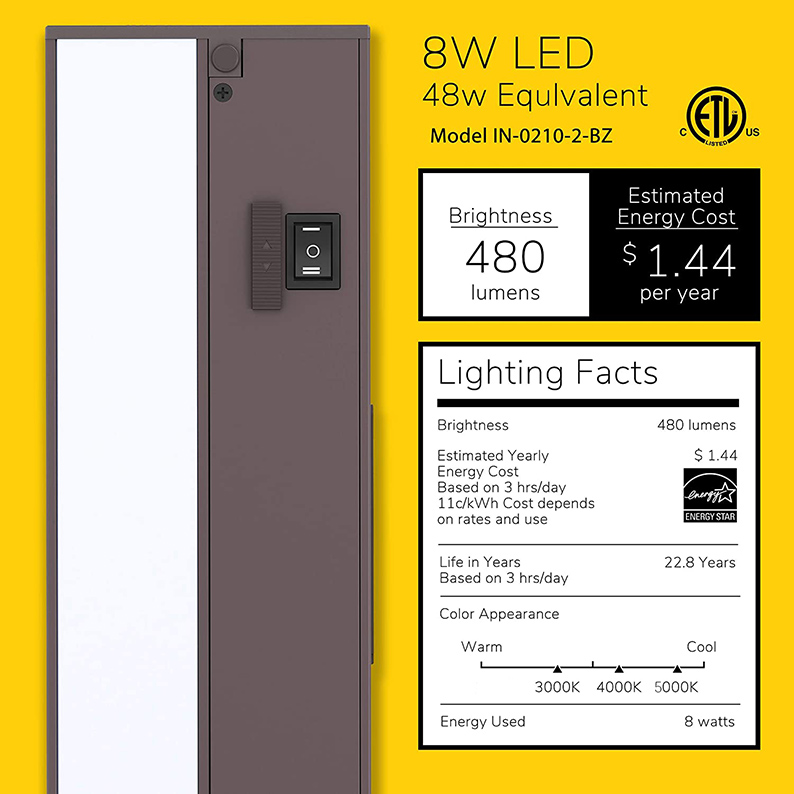
This cabinet light from Libo Lighting is perfect for you. Very simple and convenient to install yourself.
Get the latest price? We'll respond as soon as possible(within 12 hours)


